

What you need
- A clear, front-facing photo of a face (JPG, PNG or WEBP), or a camera to take one
- The audio you want the face to speak: a recording of 5 to 60 seconds, or an audio file under 10 MB
- Enough credits for the clip length (see the table below)
Make the video
1
Create your account
Go to app.percify.io/signup and choose Sign up with Google, or enter your name, email and a password of at least 8 characters. During setup Percify may ask what you want to make and show its plans. Creating the account costs nothing. Generating uses credits, which come with a plan; subscribers can add credit packs. See Plans and payments.
2
Open Clone Yourself
In the sidebar, under the tools, click Clone Yourself.
3
Add a photo
In the Upload Photo panel, choose Upload Image, or choose Use Camera to take a photo. Check the preview and press Continue. Face forward and use good lighting.
4
Add the voice
On the Create Talking Avatar page, the left panel has two tabs. On Record, tap to record yourself, or press Upload Audio to use a file. On My Voices, pick audio you saved before.
5
Choose the mode and quality
Under Mode, pick Fast (quicker, lower cost, 480p) or High (sharper, slower). With High you can also pick 720p under Quality. Estimated cost shows the credits for your audio’s length.
6
Generate and download
Press Generate video. You can leave the page while it renders. When the video is ready, press Download.
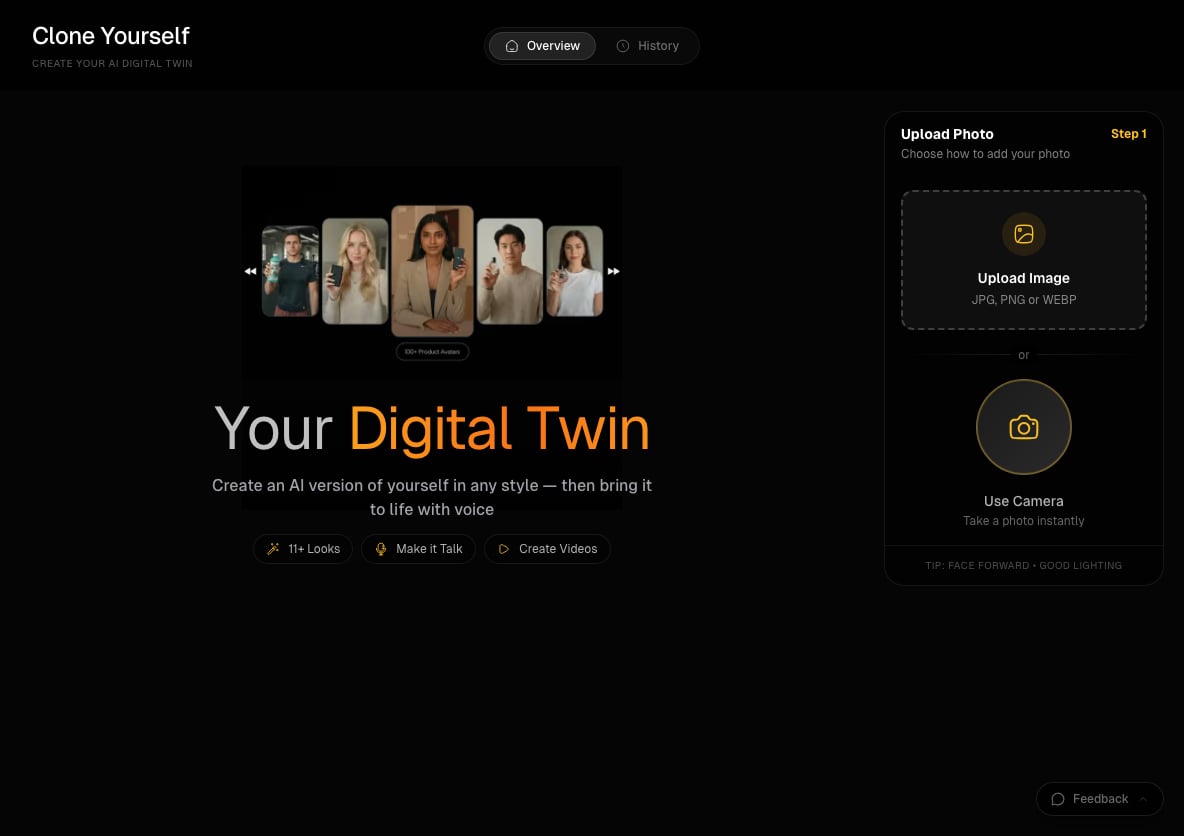
Clone Yourself: add a photo, then give it a voice
How much does a talking video cost?
Percify charges by the length of the audio, measured when the video is made.
If your balance is too low, the button reads Not Enough Credits and Percify shows how many credits the video needs. See How Percify credits work and Not enough credits.
Tips for a better first video
- Use clear audio without background noise, spoken at a natural pace.
- Clips of 5 to 60 seconds work best.
- Use a front-facing portrait photo.
- Start in Fast mode to check the result, then use High for the version you publish.
Other ways to start
You do not need your own photo. On Home, choose Avatar, describe a person and press Generate. Answer the chat’s quick questions (such as gender, framing and age) and confirm. When the image is ready, choose Make it talk, type the line, pick one of your voices or a Percify voice, and press Go. The card shows the credits before you press it.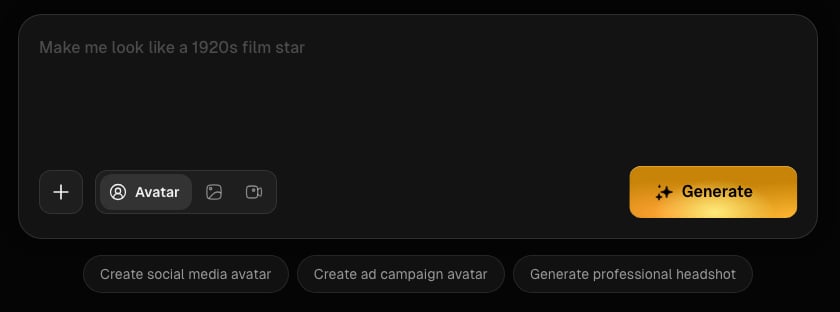
The Home prompt box, with Avatar selected
Related
Clone Yourself
Your digital twin, in any style, with your voice
Lip-sync
Make any face speak any audio
How Percify credits work
What each plan includes and what things cost
What you can make
Real examples and the tools behind them